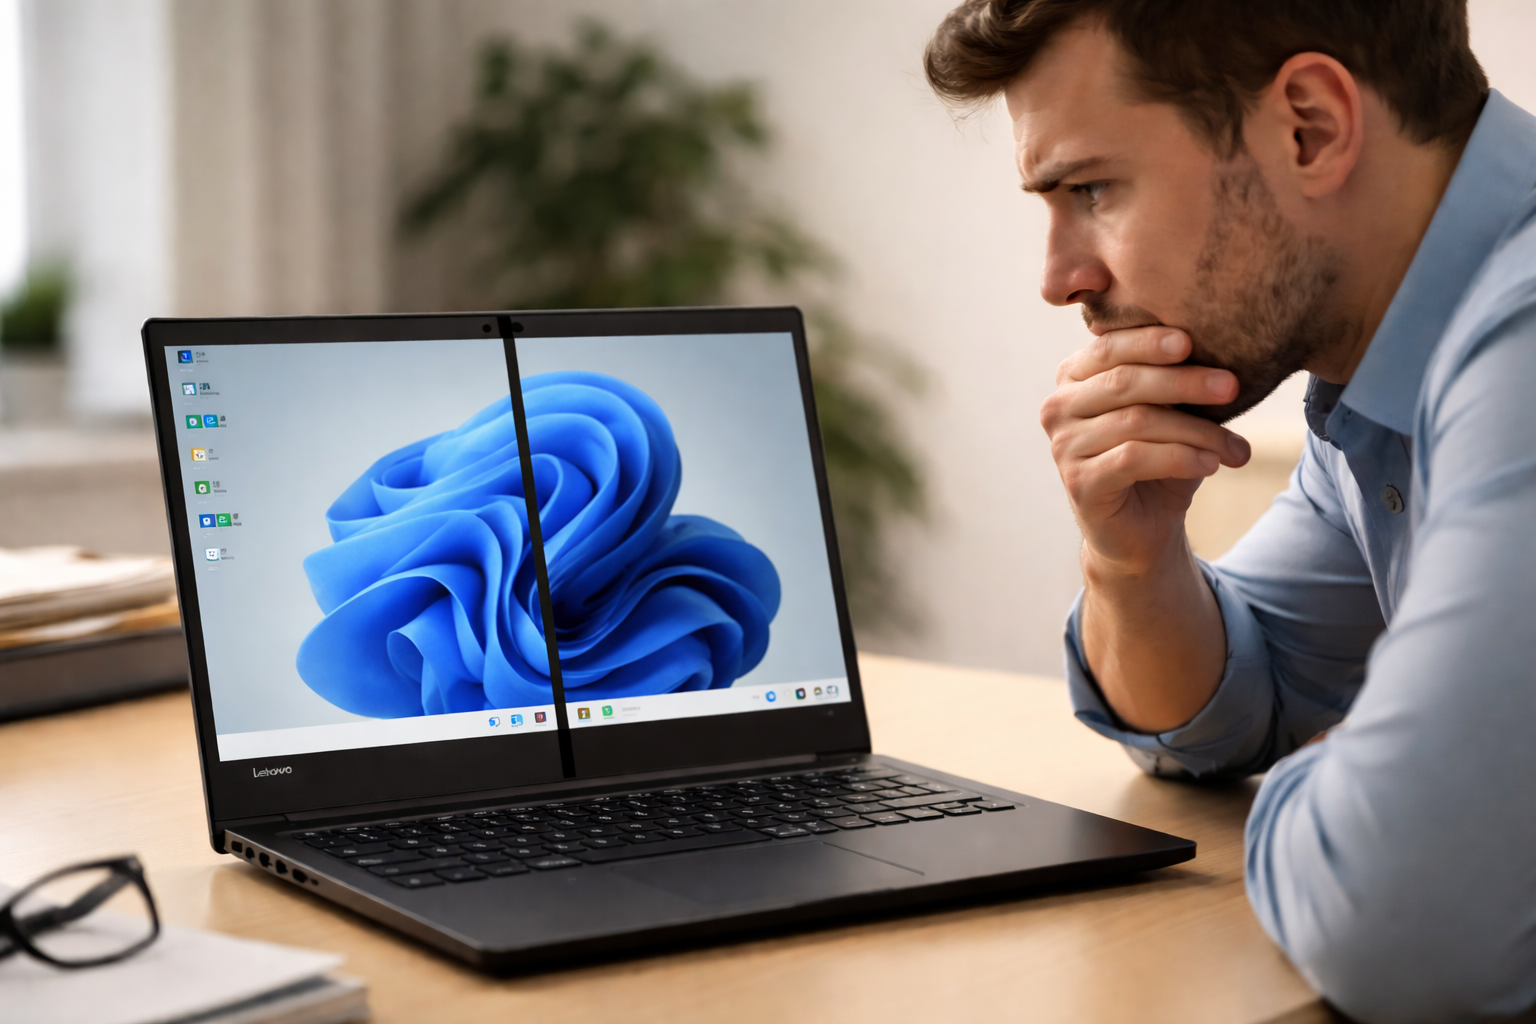
You opened your Lenovo laptop and noticed something new.
A black line running across the screen. Or maybe a vertical stripe that was not there yesterday.
It might be a single thin line. Or it could be multiple thick bands cutting through your display.
Black lines on a Lenovo laptop screen are one of the most alarming display problems users face because they look serious. But they do not always mean serious hardware damage.
Some cases are fully fixable with a free software update. Others are hardware issues that need professional repair.
This guide will help you figure out exactly which situation you are in, try the right fixes in the right order, and make the best decision about repair before spending any money.
Step 1: Diagnose Before You Fix Anything

This is the most important section of this entire guide. Most users skip diagnosis and try fixes randomly.
Spend 5 minutes on these three tests first. They will tell you exactly what you are dealing with and save you hours of trying fixes that cannot possibly work for your situation.
Test 1: The Screenshot Test
This is the fastest way to separate a hardware problem from a software problem.
- Press the Windows key and Print Screen at the same time to take a screenshot.
- Open the screenshot from your Pictures folder and look at it carefully.
- Check whether the black line appears in the screenshot.
If the black line does NOT appear in the screenshot: the problem is in the physical display panel itself. No software fix will resolve this. You need a hardware repair.
If the black line DOES appear in the screenshot: the problem is in your GPU or display driver. Software fixes like driver updates have a good chance of resolving this completely.
Test 2: The BIOS Test

This test confirms whether the problem exists at the hardware level before Windows even loads.
- Shut down the laptop completely.
- Power it on and immediately press F2 repeatedly to enter BIOS. On ThinkPad models press F1.
- Look at the BIOS screen carefully and check if the black line is visible there.
If the black line is visible in BIOS: the problem is definitely hardware. Windows, drivers, and software are not involved at this stage. The LCD panel or display cable is at fault.
If the black line is NOT visible in BIOS: the hardware is likely fine. The problem is with Windows, your graphics driver, or a conflicting application.
Test 3: The External Monitor Test

This test tells you whether the GPU is the problem or the screen itself.
- Connect your Lenovo laptop to a TV or external monitor using an HDMI cable.
- Press Windows key and P and select Duplicate.
- Look at the external screen and check if the black line appears there too.
If the external monitor shows no black lines: your GPU is working correctly. The problem is in your Lenovo’s internal screen or the display cable connecting it to the motherboard.
If the black line appears on the external monitor as well: the GPU or motherboard is causing the problem, not the screen panel itself.
Use this quick reference table to understand what your test results mean:
| What You Observe | Most Likely Cause |
| Lines visible in BIOS before Windows loads | Hardware: LCD panel or display cable |
| Lines only visible in Windows, not BIOS | Software: driver or settings issue |
| Lines not in screenshot, only on screen | Hardware: LCD panel problem |
| Lines appear on external monitor too | GPU or motherboard issue |
| Lines change when you flex the screen angle | Loose or damaged display cable |
| Lines disappear in Safe Mode | Software: driver or third-party app conflict |
| ✅ Time Required: 5 minutes. Difficulty: Very Easy. Run all three tests before trying any fix. They eliminate the wrong fixes instantly. |
What Type of Black Line Do You Have?
Black lines on laptop screens do not all look the same, and the appearance tells you a lot about the cause.
Horizontal Black Lines
Lines running across the full width of the screen from left to right.
These are most commonly caused by a damaged or loose display cable, pressure damage to the LCD panel, or a failing row of pixels in the display.
If the lines appear in bands that look like evenly spaced stripes, the display cable is the most likely culprit.
Vertical Black Lines
Lines running from the top to the bottom of the screen.
These are almost always caused by a failed column of pixels in the LCD, physical damage to the panel, or a damaged display cable.
A single thin vertical black line that appeared without any drop often points to the display cable connection becoming loose over time.
Lines That Change When You Move the Screen
If the black line flickers, shifts position, or temporarily disappears when you adjust the screen angle, the display cable is almost certainly the cause.
The cable runs through the hinge area of the laptop. Moving the screen bends the cable slightly, which changes the signal quality and produces the flickering effect you see.
Lines That Only Appear on Certain Colors or Backgrounds
If the lines are only visible on dark backgrounds and disappear on white or light content, this is more likely to be a subtle backlight or pixel issue rather than a display cable problem.
What Causes Black Lines on a Lenovo Laptop Screen?
Understanding the cause confirms your diagnosis and points you to the correct fix.
- Loose or damaged display cable: The ribbon cable connecting the screen to the motherboard runs through the hinge area. It can loosen from frequent opening and closing, physical impacts, or temperature stress. This is the most common repairable cause.
- Physical pressure or impact damage: Any pressure on the screen from the outside, such as objects placed on the keyboard when the lid is closed, can crack internal LCD layers and create permanent black lines.
- LCD panel failure: Individual pixel columns or rows can fail due to manufacturing defects, age, or damage. This creates a permanent solid black line that cannot be fixed by software.
- Outdated or corrupted graphics driver: A bad GPU driver can produce visual artifacts including black lines, but only if the lines appear in Windows and not in BIOS. This is the only software-fixable cause.
- Incorrect display resolution or refresh rate: Setting the display to an unsupported resolution or refresh rate can produce display artifacts that look like lines.
- Temperature damage: Exposing the laptop to extreme cold or heat, such as leaving it in a car overnight in winter or summer, can damage LCD layers. This is a less common but confirmed cause.
- GPU or motherboard failure: When lines appear on both the laptop screen and an external monitor, the graphics hardware itself is failing. This is the most expensive scenario.
Can I Keep Using My Lenovo Laptop With Black Lines?
This is the question most guides never answer clearly. Here is the direct answer.
In most cases, yes, you can continue using your Lenovo laptop with black lines without causing additional damage. The lines are a display issue and do not indicate that your data or the rest of the laptop is at risk.
However, there are specific situations where you should stop using the laptop immediately or use it with caution.
- Stop using immediately if: The black lines are spreading rapidly across the screen from session to session, the screen is flickering severely alongside the lines, or you notice any crackling sounds near the display.
- Safe to continue with caution if: The lines are stable in size and position, you can still see enough of the screen to work effectively, and the issue has not changed in several days.
As a temporary workaround, connecting your Lenovo to an external monitor via HDMI gives you a fully working display while you plan for repair. This allows you to keep working without any limitation.
Fix 1: Update or Reinstall the Graphics Driver

This fix only applies if your screenshot test showed the black lines in the screenshot, or if the lines only appear in Windows and not in BIOS. If the lines appear in BIOS, skip this fix entirely.
An outdated or corrupted graphics driver can produce black lines, flickering, or color banding that looks exactly like hardware damage but is completely software-related.
Update via Lenovo Vantage (Recommended)
- Click the Start menu and search for Lenovo Vantage.
- Open the app and go to the Updates section.
- Check for any pending driver updates, especially for the graphics or display category.
- Install all available updates and restart your laptop.
- Check if the black lines have disappeared.
Update via Device Manager
- Press the Windows key and type Device Manager, then press Enter.
- Expand Display Adapters.
- Right-click your graphics card and select Update Driver.
- Click Search Automatically for Drivers.
- Restart after any update and test.
Roll Back the Driver if Lines Appeared After an Update
- Open Device Manager and expand Display Adapters.
- Right-click your graphics card and select Properties.
- Click the Driver tab.
- Click Roll Back Driver if available.
- Confirm and restart.
| ✅ Time Required: 10 minutes. Difficulty: Easy. Only effective if lines are software-caused and not visible in BIOS. |
Fix 2: Adjust Display Resolution and Refresh Rate
An incorrect display setting can produce visual artifacts including horizontal bands and flickering lines.
This is most likely to occur after connecting to an external monitor, after a Windows update, or if someone changed display settings.
- Right-click on the desktop and select Display Settings.
- Scroll down to Scale and Layout.
- Find the Display Resolution setting and make sure it shows the Recommended option.
- Also look for the Refresh Rate setting. Click on it and select the highest available option, which is usually 60Hz for standard laptops or 120Hz or higher for gaming models.
- Click Keep Changes when prompted.
- Test the display.
| ✅ Time Required: 3 minutes. Difficulty: Very Easy. Always set resolution to Recommended and refresh rate to the highest available option. |
Fix 3: Run Lenovo Vantage Display Diagnostic
This is a fix that most guides completely miss.
Lenovo Vantage, which comes pre-installed on most Lenovo laptops, includes a built-in hardware diagnostic specifically for the display. It can detect stuck pixels, screen banding, and backlight issues.
- Click the Start menu and search for Lenovo Vantage.
- Open the app and go to the Support or Hardware Scan section.
- Select Hardware Scan and choose Display from the component list.
- Run the test and wait for results.
- If the test identifies a display defect, save the report. This documentation is very useful when making a warranty claim with Lenovo.
| 💡 A failed display test from Lenovo’s own diagnostic tool significantly strengthens your warranty claim and helps Lenovo support diagnose the problem remotely before you visit a service center. |
| ✅ Time Required: 5 to 10 minutes. Difficulty: Very Easy. Run this before spending money on any repair. |
Fix 4: Boot into Safe Mode to Test for Software Conflict
Safe Mode starts Windows with only essential drivers running. If the black lines disappear in Safe Mode, a third-party application or a conflicting driver is causing the problem.
- Press the Windows key and I to open Settings.
- Go to System, then Recovery.
- Click Restart Now next to Advanced Startup.
- Select Troubleshoot, then Advanced Options, then Startup Settings.
- Click Restart.
- When the options appear, press F4 to start in Safe Mode.
If the black lines are gone in Safe Mode, the problem is caused by a recently installed application or driver. Uninstall any apps you installed around the time the lines first appeared.
If the black lines are still present in Safe Mode, the problem is hardware and no software fix will resolve it.
| ✅ Time Required: 10 minutes. Difficulty: Easy. Safe Mode is the definitive test to confirm whether the issue is software or hardware. |
Fix 5: Check and Reseat the Display Cable

If your diagnosis confirmed a hardware issue and the lines change when you flex the screen angle, the display cable is the most likely cause and it is worth checking before paying for a screen replacement.
The display cable is a thin ribbon that runs through the hinge connecting the screen to the motherboard. It can loosen or develop a partial break over years of use.
| ⚠️ This fix requires opening the laptop back panel and handling internal components. Check your warranty status on Lenovo’s support website before proceeding. If your laptop is under warranty, contact Lenovo instead of opening it yourself. |
- Shut down the laptop completely and unplug all cables.
- Remove the screws from the back panel and carefully lift it off.
- Locate the display cable connector on the motherboard. It is usually a small flat connector covered with a piece of tape or a small lock.
- Gently lift the locking tab on the connector.
- Remove the cable end, wait 30 seconds, and firmly reinsert it until the connector is fully seated.
- Press the locking tab back down to secure it.
- Reassemble the laptop and test the display.
| ✅ Time Required: 20 to 30 minutes. Difficulty: Advanced. A simple cable reseat can resolve black lines caused by connection issues without any part replacement. |
Fix 6: Run SFC and DISM System File Scans
Corrupted Windows system files can sometimes affect display rendering. This fix is worth trying if the lines appeared after a Windows update and are visible in screenshots.
Run SFC Scan
- Press the Windows key and type Command Prompt.
- Right-click Command Prompt and select Run as Administrator.
- Type sfc /scannow and press Enter.
- Wait for the scan to complete. This takes 10 to 15 minutes.
- Restart after the scan finishes and check the display.
Run DISM Scan
- Open Command Prompt as Administrator as described above.
- Type: DISM /Online /Cleanup-Image /RestoreHealth
- Press Enter and wait for it to complete.
- Restart and test.
| ✅ Time Required: 20 minutes. Difficulty: Intermediate. Run DISM first then SFC if lines appeared after a Windows update. |
Lenovo Model-Specific Notes

Different Lenovo models have different common causes for black lines. Find your model for targeted advice.
Lenovo IdeaPad
IdeaPad laptops are the most affected by pressure damage from improper carrying. The thinner frame offers less LCD protection.
The most common IdeaPad cause is an object left on the keyboard when the lid is closed. Even a single pencil or cable can create enough pressure to damage the LCD internally and produce permanent black lines.
IdeaPad models also use display cables that run through a narrow hinge channel. After 2 to 3 years of daily opening and closing, these cables can develop micro-cracks that produce intermittent lines.
Lenovo ThinkPad
ThinkPad laptops are more durable but develop black lines from a different cause. The display cable in ThinkPad models is subject to mechanical stress from the lid opening mechanism.
ThinkPad users who open and close the lid hundreds of times per week are more likely to develop cable-related lines over time.
ThinkPad models have better built-in diagnostics. Access the full hardware test by holding Fn and F10 during startup on most models to get a detailed display diagnostic report.
Lenovo Yoga
Yoga laptops are 2-in-1 devices with a 360-degree hinge. This design puts significantly more stress on the display cable than a standard laptop hinge.
Every time the Yoga is folded into tablet mode, the cable bends further than on a standard laptop. This repeated extreme bending accelerates cable wear.
Yoga users who regularly use tablet mode are the most likely to develop cable-related black lines. If your Yoga’s lines appear only when the screen is in certain positions, the cable is almost certainly the cause.
Exposing a Yoga to extreme temperatures, such as leaving it in a hot car in summer or a cold car in winter, can also damage the LCD layers and produce lines without any physical impact.
Lenovo Legion
Legion gaming laptops have higher quality displays but generate significant heat during gaming sessions.
Extended high-performance gaming at maximum settings creates sustained heat that can affect the display connector over time.
Legion users who see lines specifically during or after intensive gaming sessions should check their laptop’s temperatures with HWMonitor and ensure adequate cooling. A laptop cooling pad can help protect the display over the long term.
Check Your Lenovo Warranty Before Paying for Repair
Before spending any money on screen repair, check whether your Lenovo is still under warranty.
Lenovo provides a standard one-year warranty on consumer laptops. ThinkPad models often come with a three-year warranty. Display defects that appeared without physical damage are typically covered.
- Find your laptop serial number on the sticker on the bottom panel.
- Go to Lenovo’s support website and click Warranty Lookup.
- Enter your serial number.
- If your laptop is within warranty and the lines appeared without physical damage, contact Lenovo support for a free repair or replacement.
| 💡 The Lenovo Vantage display diagnostic report is very useful when contacting support. It provides official documentation that the display has a defect, which speeds up the warranty claim process significantly. |
Repair Cost Breakdown by Lenovo Model
If your warranty has expired or does not cover the damage, here are realistic cost estimates for 2025.
- Lenovo IdeaPad 14 inch to 15 inch: Display cable replacement costs 20 to 50 dollars for the part plus 40 to 70 dollars for professional labor. Screen panel replacement costs 50 to 120 dollars for the part plus 40 to 70 dollars for labor.
- Lenovo ThinkPad standard models: Display cable replacement totals 60 to 120 dollars. Screen replacement totals 100 to 250 dollars depending on resolution and panel type.
- Lenovo ThinkPad X1 Carbon: Premium OLED and high-resolution screens cost 250 to 400 dollars for the panel alone. Total repair including labor can reach 500 dollars.
- Lenovo Yoga: Touch screen panels are significantly more expensive. Replacement totals typically range from 150 to 350 dollars.
- Lenovo Legion: High refresh rate gaming panels cost 120 to 300 dollars for the part. Total repair is typically 200 to 400 dollars.
If you purchase the replacement panel or cable yourself from sites like iFixit or LaptopScreen.com, you can reduce costs significantly by paying only for professional labor.
Should You Repair or Replace Your Lenovo?
This decision depends on a few key factors.
Repair Makes More Sense When
- The laptop is less than 3 years old and the repair cost is under 40 percent of the laptop’s current value.
- Only the display cable needs replacement, which is a cheap and fast repair.
- The laptop has specific features or data that make it important to keep operational.
- The laptop is under warranty and Lenovo will cover the repair at no cost.
Consider Buying New When
- The laptop is more than 4 years old and the screen replacement cost exceeds 200 dollars.
- The external monitor test showed lines too, meaning the GPU or motherboard is failing, not just the screen.
- The laptop already has other hardware issues alongside the screen problem.
How to Prevent Black Lines on Your Lenovo Screen

These habits significantly reduce the risk of display problems.
- Never close the lid with objects on the keyboard: This is the single most preventable cause of LCD damage. Check the keyboard every time before closing.
- Use a padded laptop sleeve when traveling: External pressure from bag contents pressing against the lid is a leading cause of pressure damage.
- Avoid extreme temperatures: Never leave your Lenovo in a car in direct sunlight in summer or in freezing conditions in winter. LCD panels are sensitive to temperature extremes.
- Keep Lenovo Vantage updated: Driver updates through Lenovo Vantage include graphics driver fixes that prevent software-caused display artifacts.
- Handle the screen by the frame not the panel: When opening or adjusting the laptop, hold the bezel (the black plastic frame around the screen), not the glass panel itself.
- Limit tablet mode use on Yoga models: If you have a Yoga, using laptop mode most of the time reduces hinge stress on the display cable and extends its lifespan.
Frequently Asked Questions
Why did black lines appear on my Lenovo screen without any physical damage?
This is the most common question and the most frustrating situation. Black lines can appear without any drops or physical impacts due to display cable wear from normal hinge use, temperature stress on the LCD layers, or pixel column failure from age.
Run the BIOS test first. If lines appear before Windows loads, the problem is hardware but may still be a repairable cable issue rather than a full screen replacement.
Will updating the graphics driver fix black lines on my Lenovo screen?
Only if the lines are software-caused. The screenshot test tells you this instantly. If the lines appear in your screenshot, a driver update may fix it. If they do not appear in the screenshot, the screen itself is damaged and a driver update will not help.
How do I know if it is the display cable or the LCD panel that needs replacing?
If the black lines change, flicker, or temporarily disappear when you gently flex the screen to different angles, the display cable is the cause. A cable repair or replacement is cheaper and faster than a full panel replacement.
If the lines are completely static and unchanging regardless of screen position, the LCD panel itself is likely damaged.
Can I use my Lenovo laptop with black lines without causing more damage?
Yes, in most cases. Static black lines from a damaged LCD or cable do not spread or worsen from normal use. You can safely continue using the laptop while planning for repair.
The exception is if the lines are actively growing in width or count from one session to the next. In that case, the damage is progressing and the laptop should be repaired as soon as possible.
Are black lines on a Lenovo screen covered by warranty?
Display defects that appeared without physical damage are typically covered under Lenovo’s standard warranty. Physical damage from drops or pressure is usually not covered unless you have an accidental damage protection plan.
Check your warranty at Lenovo’s support website using your serial number. Document the issue with photos and the Lenovo Vantage diagnostic report before contacting support.
Final Thoughts
Black lines on a Lenovo laptop screen are alarming to see but they are not always a sign of catastrophic damage.
Start with the three diagnostic tests: the screenshot test, the BIOS test, and the external monitor test. These five minutes of diagnosis will tell you exactly whether you are dealing with a software fix or a hardware repair.
If the lines only appear in Windows and show up in screenshots, a graphics driver update or display setting correction may resolve everything for free.
If the lines appear in BIOS before Windows loads, the hardware needs attention. Check your warranty first. A surprising number of users have had their screen repaired for free simply by checking warranty status before visiting a repair shop.
If the lines change when you flex the screen angle, the display cable is likely the cause and it is the cheapest possible hardware fix for this type of problem.
Share your Lenovo model and what fixed your lines in the comments. Your experience helps other Lenovo users find their answer much faster.